|
Design
A neon sign is made of glass tubes that are heated and bent into the shapes of lizards, Volkswagens, and phrases like "Open", "Lotto", and "Falls City Beer". EL wire is flexible, and can also be bent to form shapes, but doesn't need any specialized tools. It does, however, require an armature to maintain its shape, so that's where we started.
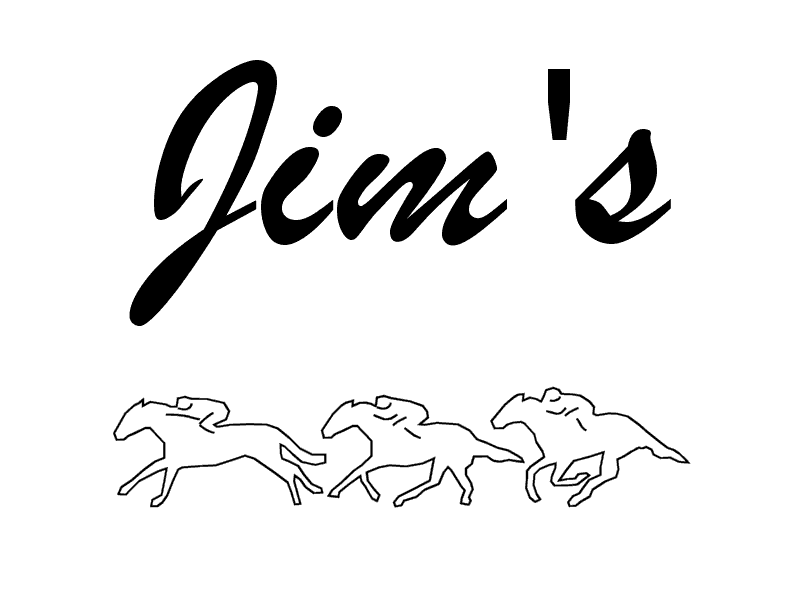
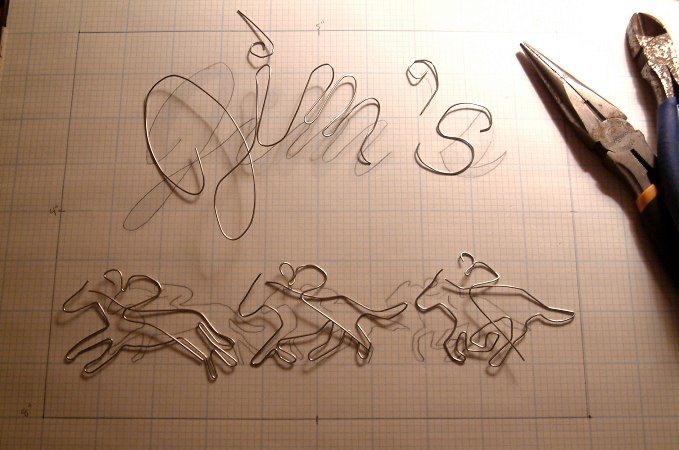
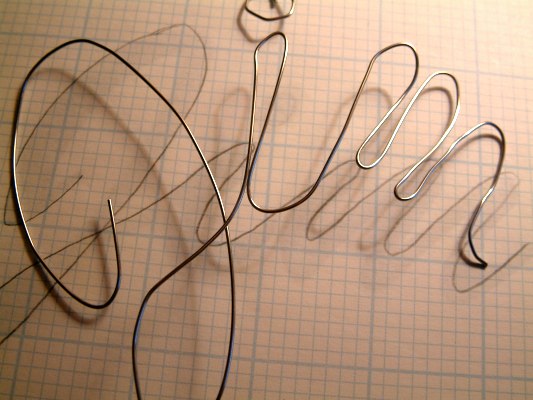
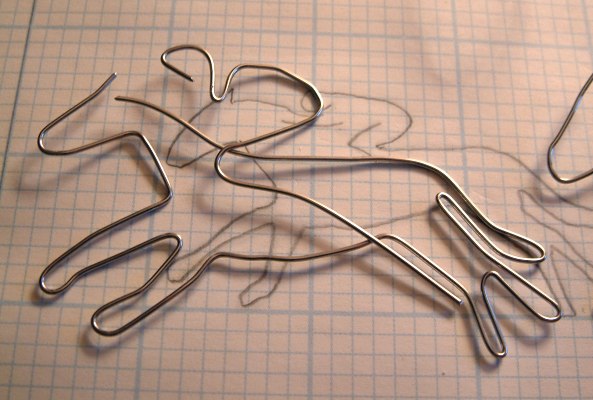
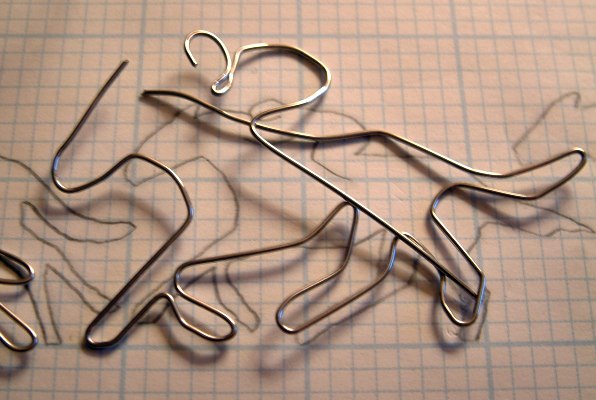
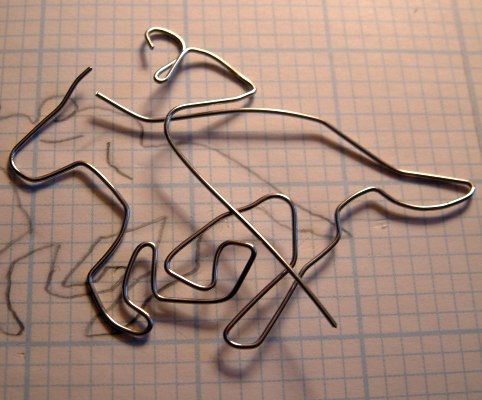
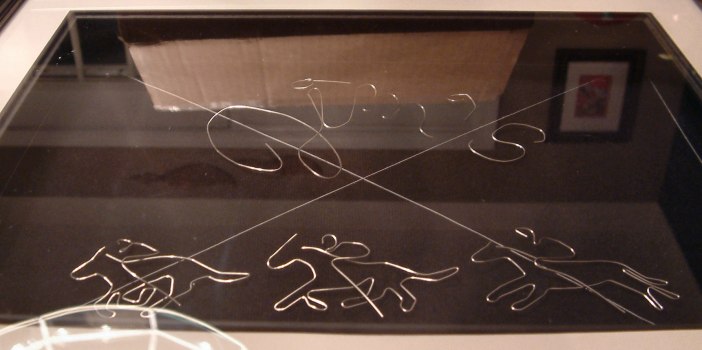
Each element of our sign needs an armature, a continuous line to which the EL wire will be attached. I made line drawings of each of the elements using a graphics program. My idea was of a racehorse running across the screen with a big red "Jim's" across the top. I chose a cursive script for the lettering. The three horses are essentially outlines, although I later separated the jockeys into their own armatures. In total, I ended up with 10 separate armatures ... JIM, (dot on the I), (apostrophe), S, three horses, and three jockeys.
The design needed to fit within an 8"x10" area. After the elements were drawn, I printed and traced them onto graph paper to make sure everything would fit properly. I then dug out the wire cutters, pliers, and armature wire and got down to work. As you can see from the photo to the right, I improvised on some things. For instance, I didn't think the cursive "s" would translate well, so I formed a recognizable "s". I also added "stems" to the dot on the "i" and the apostrophe because I (correctly) believed I would need the extra length to help hold the wire in place. These rare forward-thinking moments help a project like this to go smoothly, and can prevent situations that result in having to explain to one's wife why there is a pair of needle nose pliers buried in the wall. Anything to reduce frustration is worth the extra time, time that would otherwise have been spent patching plier-shaped drywall holes or fetching the trashcan out of the street with a boot-sized dent in its side.
|
|
Layout
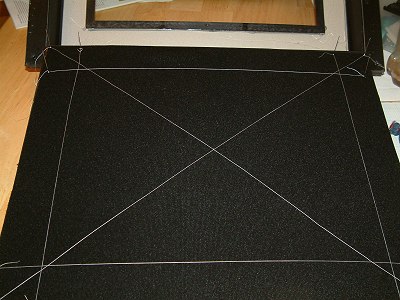
We picked up an inexpensive shadow box at Walmart. If you don't know what a shadow box is, well ... it's sort of like a picture frame, but deep enough that you can mount objects inside. I suppose if you wanted to show off your old little league baseball glove and cleats, or your Star Wars action figure collection, this would be the thing you'd use.
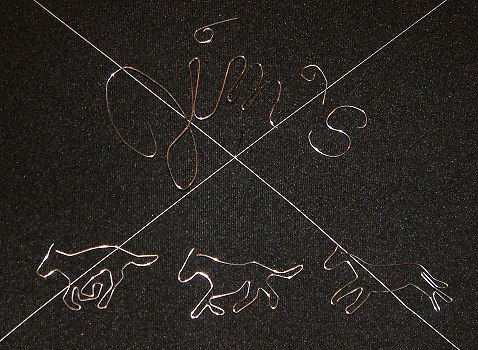
Anyway, I opened up the back (which had a convenient hinge), and using white thread and push pins, I marked off the center. Then I measured the area along the sides that would be covered by the mask on the glass when it is closed. This gave me exactly the visible space I had to work with. Laying out the armature pieces was simple, and gave me a good idea of what this would look like when it was completed. Jim's cave painting of some horses. |