| Make
your own bone yard filled with gothic
headstones to chill the souls of the
living and warm the rotting hearts of
the dead. These foam tombstones
are fun to make, and will get lots of
attention for your front yard haunt.
All
you need are a few tools and some
imagination, and you don't really need
that if there's a cemetery close by.
Inspiration is just a graveyard stroll
away. |
|
| Parts
list |
| 4'x8'x3"
pink foam board |
Get
this at your home improvement
center. You can break the board in half to
get it to fit into the back of your SUV or
"Le-Car". If your foam
board has a plastic film covering, remove this before you
start carving. |
| Small
saw or knife |
You'll
need something to carve out the basic shapes of
your stones from the foam board. Anything
with a serrated edge will work. |
| Dremel
or wordworking tools |
Although
not strictly necessary, a Dremel really makes the
detail work go faster. If you don't have
one, you can use simple wood working tools to
gouge out your designs. |
| Flat
latex paint |
1
gallon black, 1 gallon gray. |
| Sand |
A
small bag of play sand from your local hardware
store works great. |
|
|
Design Layout |
|

|
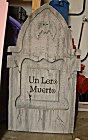
Coming
up with cool designs is the best part
about making your own
tombstones. If you can't come up
with anything on your own go to the
internet or even better, to your local
neighborhood cemetery.
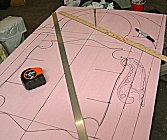
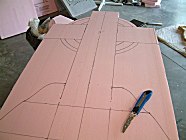
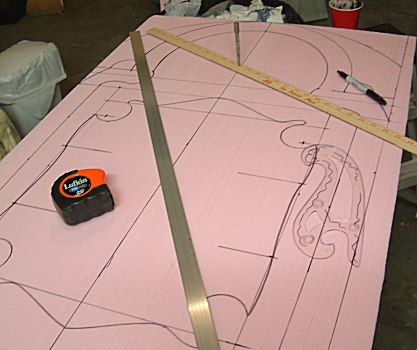
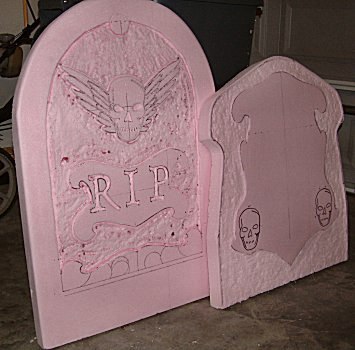
I
generally start by cutting a slab
about 48" by 30".
Choose your own dimensions according
to how tall and how wide you want your
tombstone to be. Map out your
design by first marking a center
line. Then take your
measurements from there. It'll
help keep things even on each side. |
|
|
|
|
 |
|
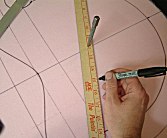
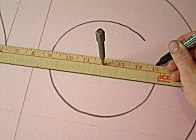
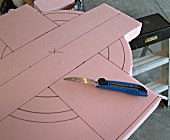
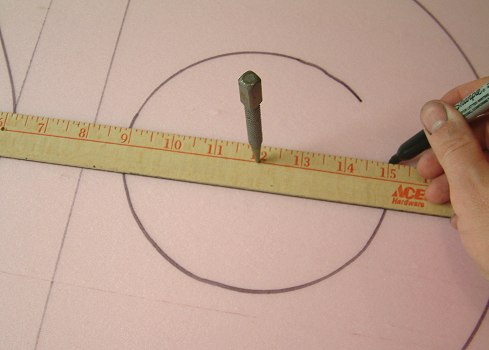
A French curve is great for scribing
ornamentation. For larger arcs
and circles you can use a compass or
make your own using a yardstick.
Drill a hole in your yardstick, find
the center spot of the circle you want
to scribe, and stick a finishing nail
or a thumbtack (I used a nail punch)
through the hole. Measure out
from the center, place your Sharpie,
and slowly turn the yardstick.
You can cut notches in the yardstick
to keep the marker from slipping. |
 |
 |
 |
|
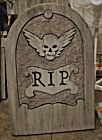
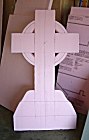
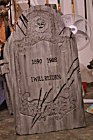
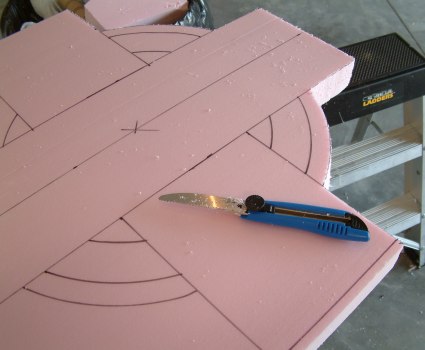
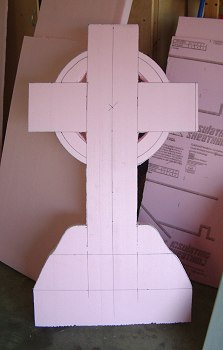
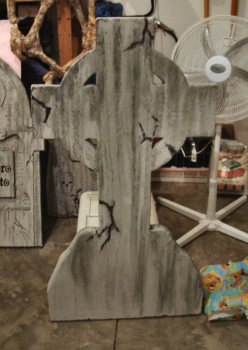
Here we see the evolution of a Celtic
Cross. Once you have the center
line of your slab it's very easy to
lay out the gist of the rest of your
tombstone. The small handsaw
came from Ben Franklin's ($2.00). |
|
|
|
Detail Work |
|
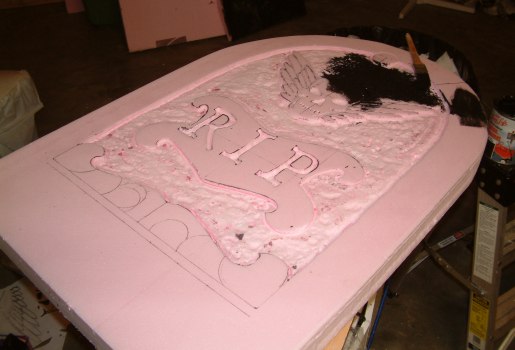
When
planning detail work you need to
decide what are going to be the high
and low points of your
tombstone. Rout out large areas
with a Dremel or with a sharp chisel
or gouge. Before using hand
tools to dig out large fields of foam,
score the edges of your design with a
razor knife. This will help to
keep you from ripping out chunks of
something important.
|
|
|
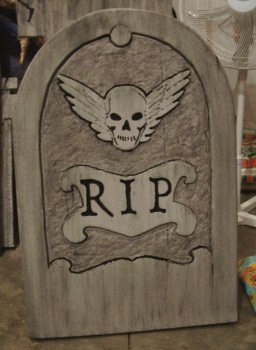
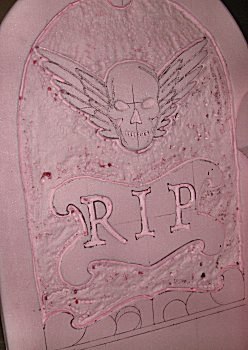
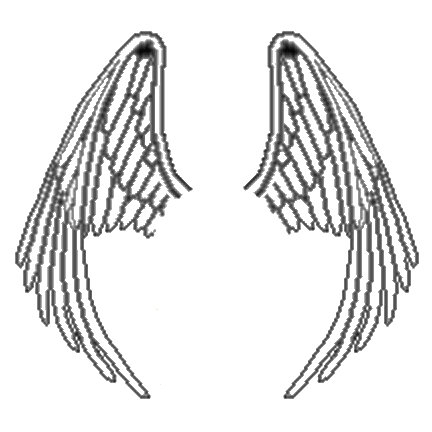
You can transfer designs such as
skulls, angels, wings, or armadillos
directly onto your foam. Print
out your armadillo, then place the
paper where you want the final picture
to be. Trace with a blunt pencil
to leave behind a faint indention.
Then just trace the indention with
your Sharpie. This also works
well for
epitaphs.
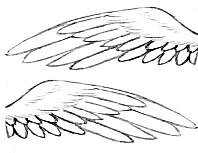
Here
are the skull
and wings I
used. Feel free to use them on
your own creations. And here is another pair of wings that I kinda like.
Using
a medium grit sandpaper, sand the
outer edges and surface of your
tombstone. A rough surface helps
to hold paint better. This is
also the time to carve out a few
cracks and other wear marks. You
might not be too keen on marring the
beautiful work you just did, but just
try gouging out a hunk or two from the
edge. You'll be surprised how
much cooler the stone will look when
it's "aged". |
|
|
|
Painting and Aging |
|
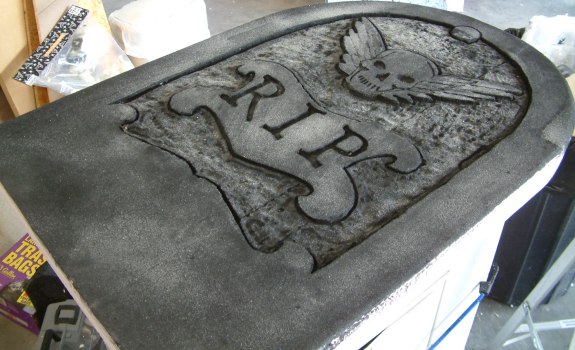
Paint the front and sides of your
tombstone with flat black latex paint.
Get it into every nook and cranny.
While the paint is still wet, sprinkle
sand over the surface. Do not
touch the surface until it's dry.
Throw as much sand on there as you
want, but just a little at a time.
When the paint is dry turn the
tombstone over and let any excess sand
fall off.
|
|
|
|
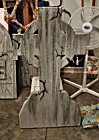
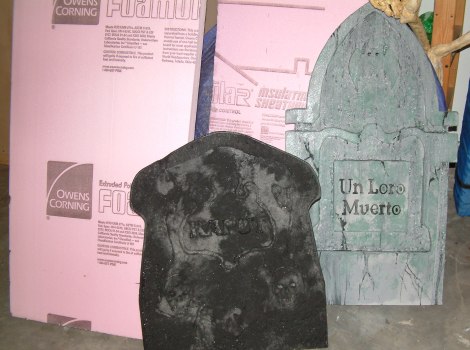
Now paint the tombstone with flat
gray latex paint. Deeply cut
areas like the letters in epitaphs
remain black. Also leave any
cracks black. It's really up
to you how much of the surface you
want to cover.
When the gray coat is dry, mix a
very thin (more water than
paint) dark gray or black.
Stand your tombstone up
(preferably outdoors). Wet
down the tombstone with a hose
or a sponge, then dip a paper
towel into the "black wash".
Starting at the top, drag the
towel down the tombstone. |
|
Squeeze to let extra paint drip
out and let it run down the face.
Don't be afraid to use a lot of
the thin mixture. Now
squeeze more water over the stone
or lightly spray with a hose.
Don't use very much water or
you'll wash away all your paint.
The idea is to let some of it wash
away and let it pool in other
areas to give the surface a
weathered look.
Allow the tombstone to dry and
repeat the thin "black wash"
mixture application.
Introduce other colors.
Add some moss. Lightly dry
brush some brown or light green
all around the edges. If
you don't like something you've
done then just wipe it off.
You really can't screw it up.
|
|
|
|
|
Finish Out |
|
Set dowel rods or
short lengths of PVC into the bottom of the foam,
then stick them in the ground.
Alternatively, stick your supports in
the ground and duct tape them to the
back of your tombstone.
You
can further dress up your tombstones
by draping cloth over them and adding
flowers. If your design has
eyes, make them
glow with LEDs.
Have
fun haunting!
|
|
|
|


