| Introduction |
| There's
something really unsettling about
these old fashioned toe-pincher
coffins. Up until the 19th
century carpenters built them to-order
for the newly deceased. The
newer rectangular-shaped
coffin became the standard after
companies began producing them in
quantities. They were generally
marketed by furniture stores.
Okay,
enough of the history lesson.
With your very own coffin, you can put
a corpse prop in it, shake it up with
a vibrating motor, or do lots of other
devious things to scare the boots off
your trick or treaters. The
entire project takes about 4 hours,
less if your paint dries faster.
Printer friendly PDF instructions here |
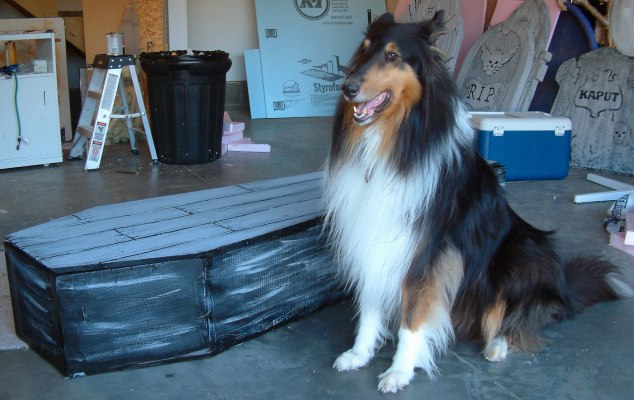
|

"Coffin'?
I don't hear anything."
|
|
| Parts
list |
| 1/2"
foam board |
Get
this at Home Depot. Blue or pink doesn't
matter. You'll need two 4x8 sheets to
complete a 6' coffin. |
| Duct
tape |
Really.
Honest. |
| Paint |
Gray
and black. You won't need much. |
| Construction |
|
Note:
If the foam is covered with a plastic sheet,
peel this off first!
|
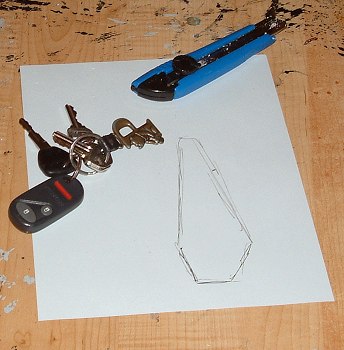
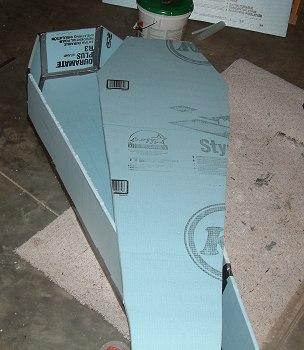
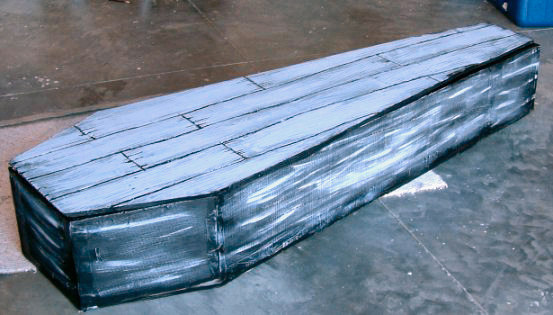
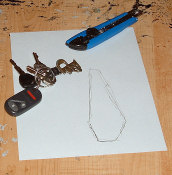
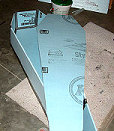
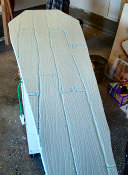
On
the left you can see our highly detailed project
plans. Feel free to make a copy of
them as a reference. Ok...Obviously
we put a little more thought into it. The toe-pincher
shape basically hugs the human body.
The entire box is 6' long by about 12"
deep. Cut the top and bottom first to
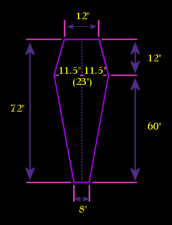
get the classic shape. After
the top is cut, lay it on another sheet of
foam and trace for an exact match.
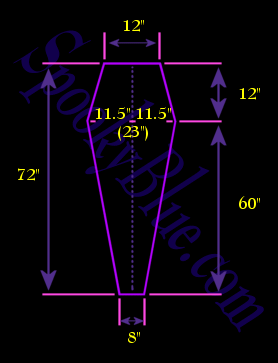
Then cut the walls. A more detailed
plan appears to the right. |
|
|
When
cutting the walls, measure along the
lengths of your top piece or use the
measurements supplied above. Cut
each piece 12" wide by whatever
length. If you want your coffin
to be deeper, just cut the walls a
little wider.
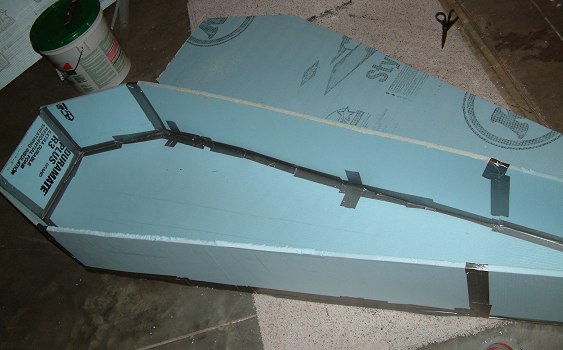
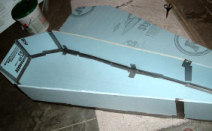
Duct tape
the walls to the bottom inside and
outside. It's surprising
how well the whole thing holds
together. Just try to keep from
wrinkling the tape. It's kind of
hard to cover up wrinkles with paint. |
|
|
|
|
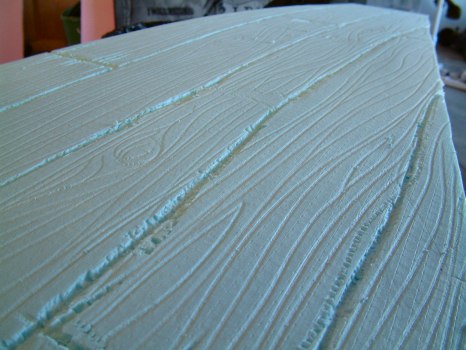
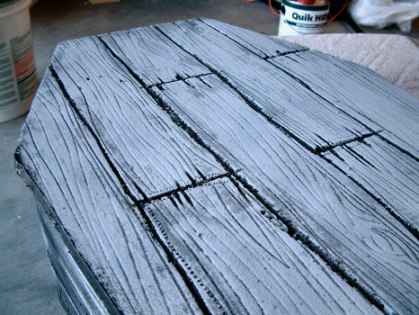
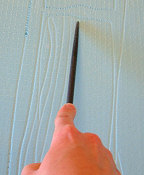
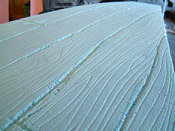
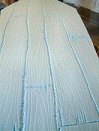
Using
a wood file, or even just a blunt
pencil, scribe a wood grain on the coffin
lid. Make the grooves slither
around all over the place, and don't
make them appear to be too straight.
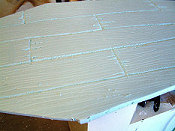
Cut
deeper grooves between the
"boards". Just be
careful not to cut too deeply or you
go all the way through. Of
course, you can cut right through and
tack all the "boards"
together underneath if you wish.
Or make a few holes that go all the
way through. If you cut holes,
make sure not to compromise the
structural integrity of the lid.
Cut
or chip away splinters, make a few
gouge marks and worm holes, and
generally sculpt out a worn out wood
look. |
|
|
|
 |
|
|
|
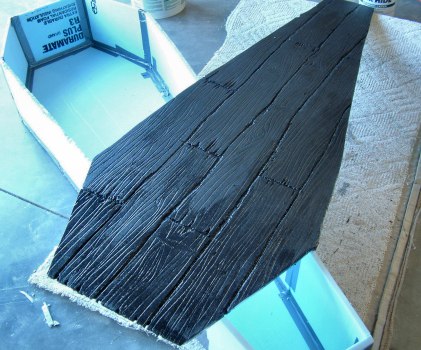
Paint
the lid flat black. I used cheap
latex paint from Big Lots.
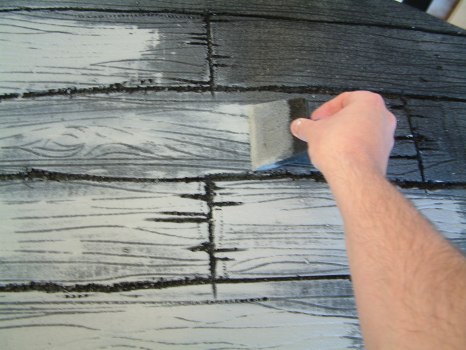
When
the black paint is dry go back with a
sponge and dry-brush with gray or
light brown. Don't load up the
sponge. Just drag it across the
surface so that the paint doesn't go
down into the cracks and crevices.
Repeat
the same procedure on the sides, or do what we did and just smudge some paint on
there. |
|
|
The lid is the focal
point, and it's going to be dark
anyway. Paint the inside
black. If you want to place a
light inside then paint the inside a
lighter color or splash different
colors to give the light something to
reflect off of. The end result
is fairly rugged but will not hold up
to real actors climbing in and out of
it. It will, however, hold a
bucky, a corpse, or any other nasty
surprise you may have in mind. Go all out if
you want and stuff satin bed sheets
(preferably red) with news paper, then
tack this in. Your corpse will
be riding in style.
Have
fun haunting! |
|
|
|
|